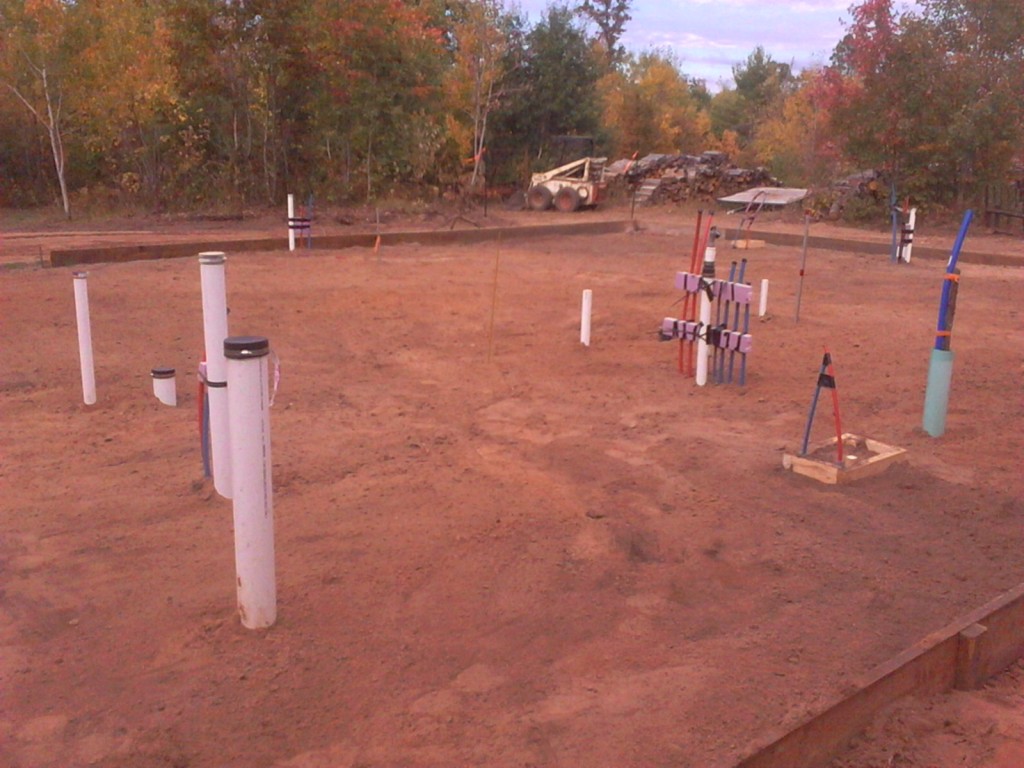
The trees had been cleared for our site, the footprint for the house had been brought roughly to grade, and the form boards for the concrete slab had been installed. The next step was to start digging for all the utilities that needed to go under the slab.
Our plumber came out and got all of the water and drain lines installed for the bathrooms, kitchen, laundry, and utility room appliances.
Next on the list was to dig trenches for the hot water lines from our outdoor wood boiler, which will heat the house, the garage, and our hot tub. All of the lines run from the boiler to the house, and from there, they branch out to the other locations. I was very unhappy with the performance of the insulation on the old lines that ran from the boiler to the garage, so I decided to start over and design my own system to keep the pipes from wasting heat by dumping it into the ground all year long.
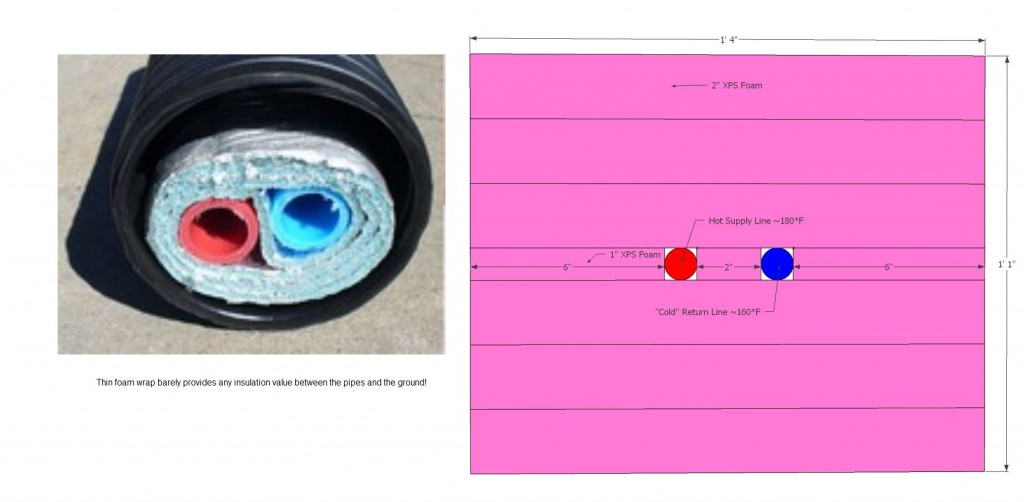
The problem with the old lines is that they were only wrapped in a very thin foil/foam material, which only provided one wrap between the two pipes and 3 wraps between the pipes and the corrugated tube they came inside of. While I can’t find any data on what the insulation values of the foil wrap really are, my guess is that it is roughly R1 per wrap, giving R1 between the two pipes and R3 between the pipes and the ground. It didn’t make any sense to build a very well insulated house, and then dump our heat into the ground before it even got to the house. The foam box I designed provides 2 inches of XPS foam between the two pipes and 6 inches of XPS foam between the pipes and the ground. XPS insulation has an R-value of R5 per inch, meaning that the new lines will have R10 between the two pipes and R30 between the pipes and the ground. Talk about a huge improvement (10 times the insulation value).
Here’s a picture to better explain the difference between the old insulated lines I bought a few years ago, and the way the new ones will be insulated (click on image for a larger version):
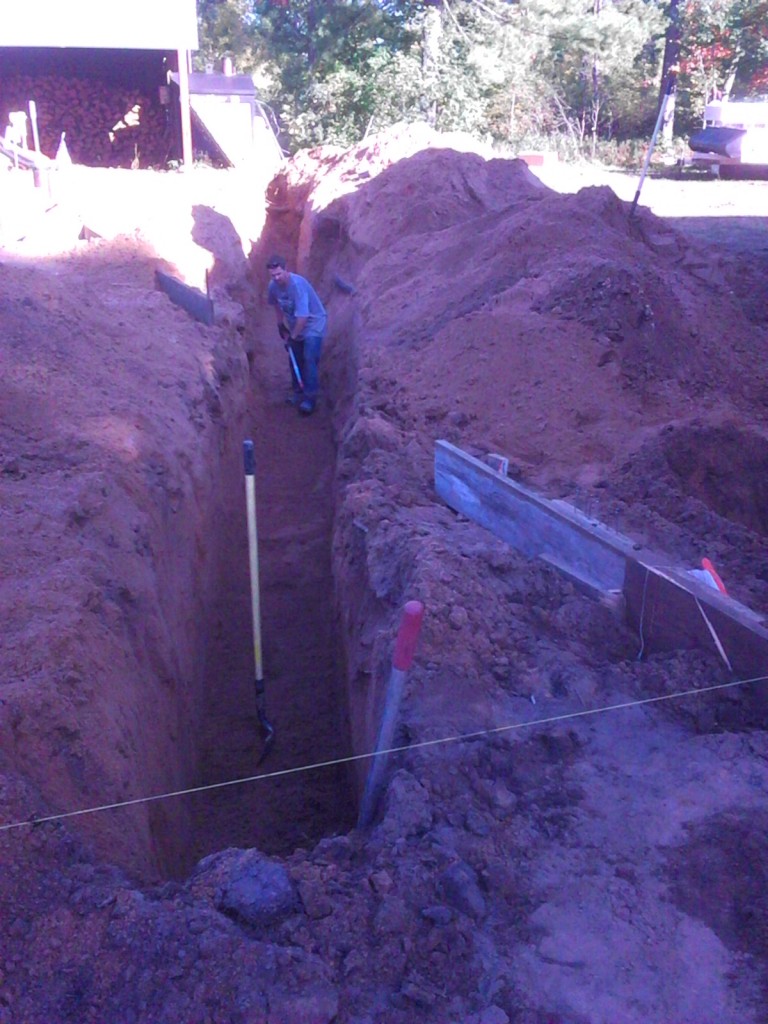
The first step was to dig the trench that the new boiler lines would go into. The old lines were only about 2 feet below the ground, and in the spring or fall, you could see exactly where they were because the snow would melt off of the ground in a 5 foot wide path. Since the frost reaches a depth of around 4 feet, I wanted to make sure to get the new lines as deep as possible so the insulation could do its job even better. We used a small backhoe to dig down 4 to 5 feet, and then finished cleaning up the bottom of the trench by hand.
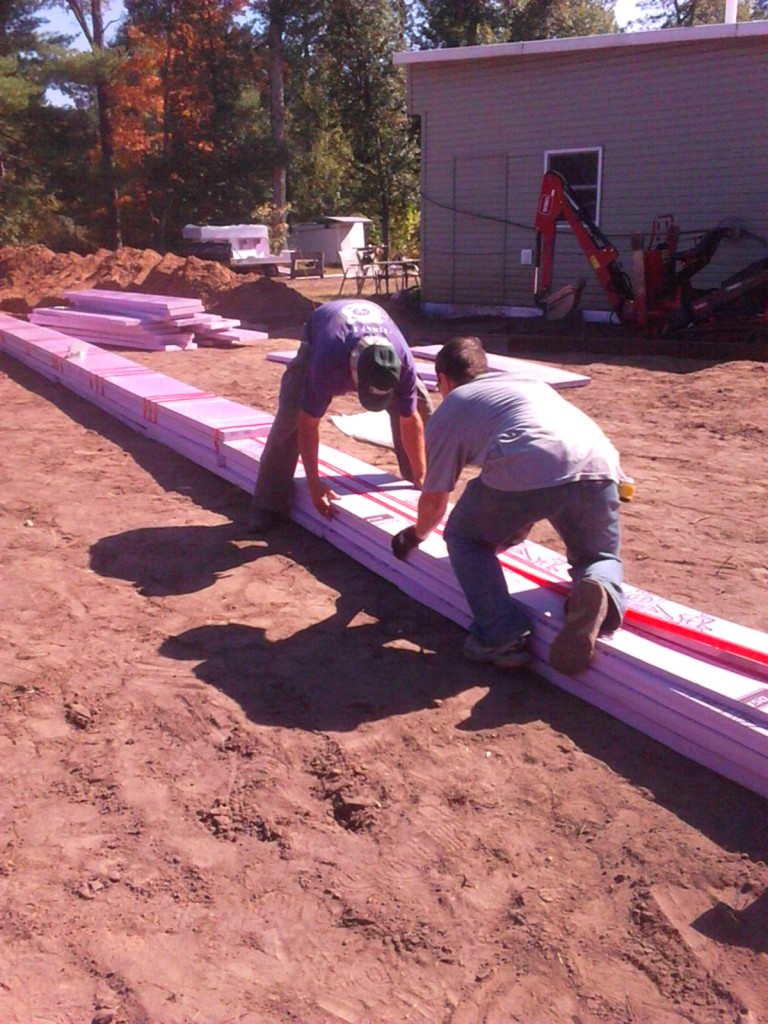
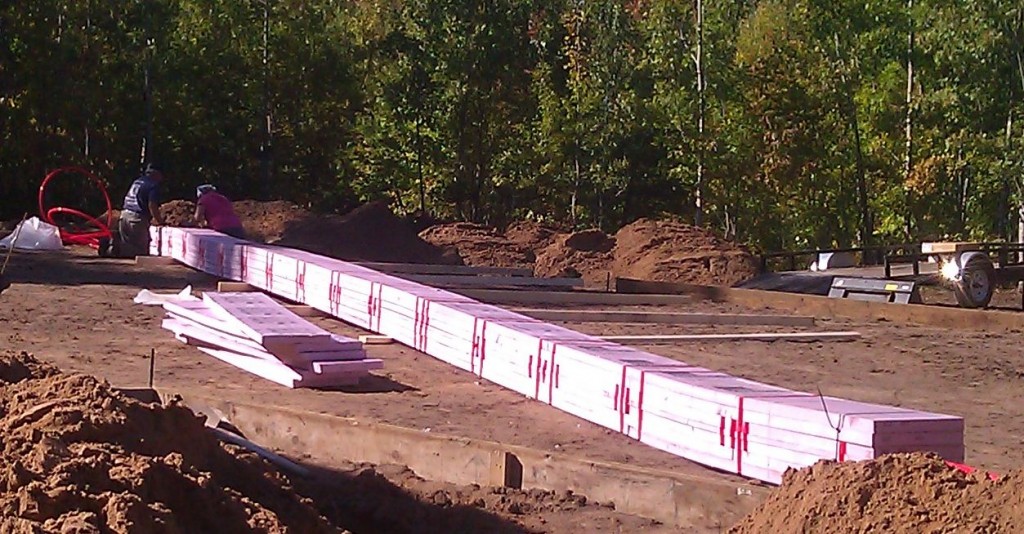
The next step was to build the box. Here’s the box about 50% built. The part we are working on has the first 3 layers of 2″ foam, plus the 1″ pieces of foam to hold the pipes in place. In the background, you can see we have one more layer of 2″ foam added. The finished product gets two more layers of 2″ foam.
Here’s the completed product getting ready to be moved into the trench.
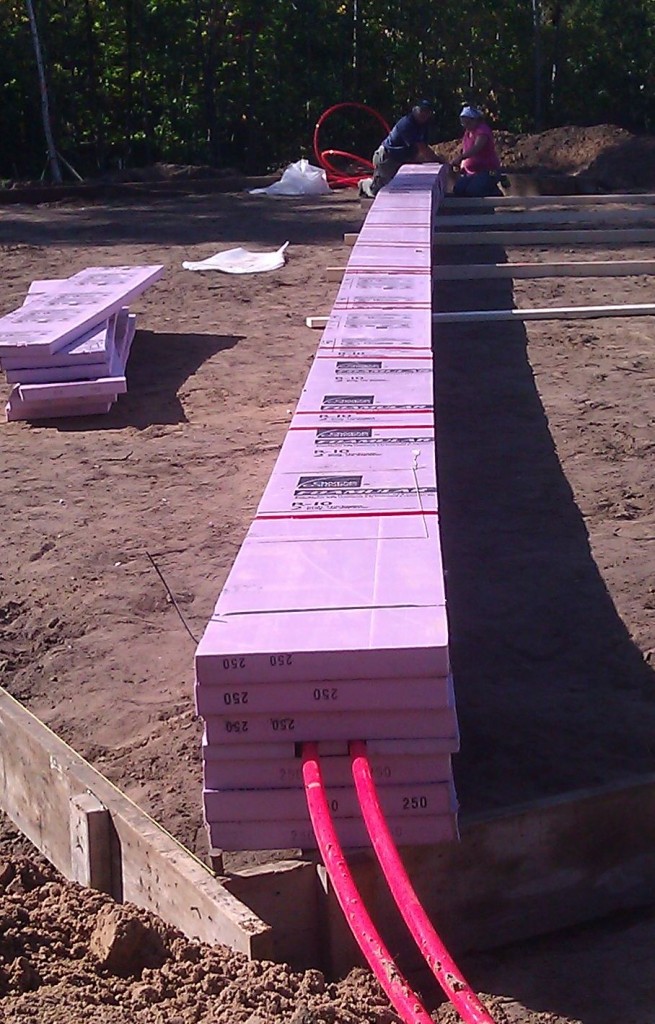
Here’s one more picture of the end of the foam box so you can see how the pipes come out of it:
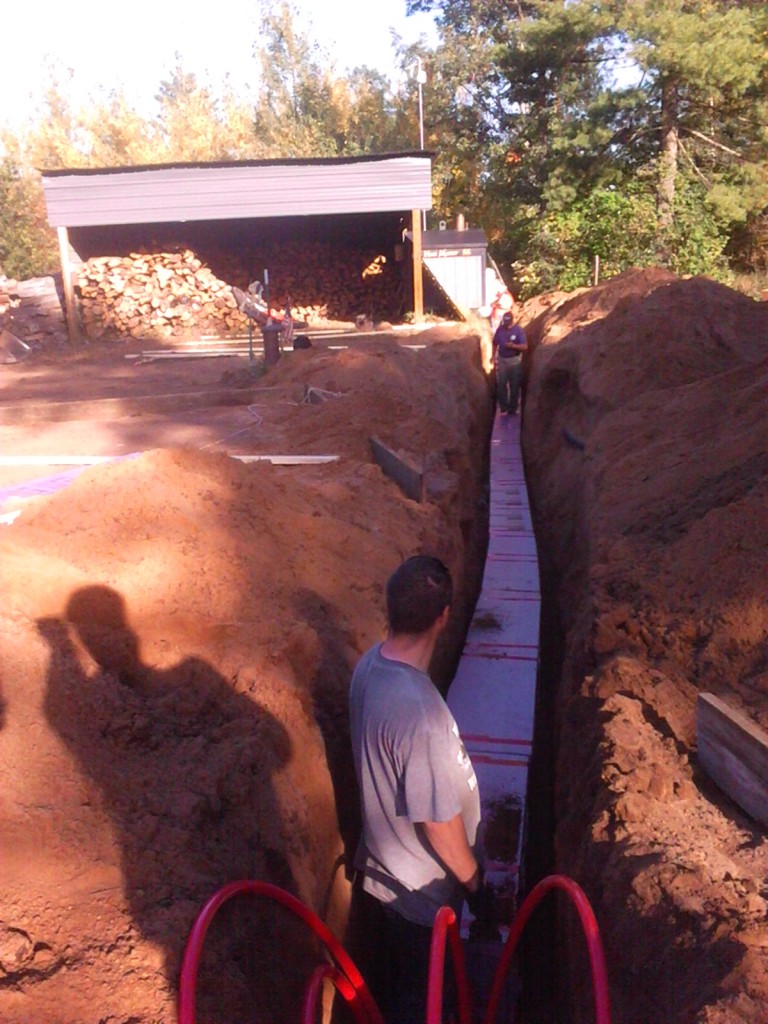
It’s not easy moving a 65 foot long piece of foam, but with a few extra hands, we got it dropped into the trench. If you look closely, you can sort of see the corrugated pipe for the old lines on the right-hand side of the trench, about half-way down and half as deep as the foam.
After that, we threw a conduit and extra water line in the trench in case we ever need to get extra wires out to the boiler, or if we want to have an extra water faucet over by the boiler. The last thing to go in the trench was a piece of 6-mil poly plastic to act as an umbrella so that the water soaking into the ground goes around the foam box, rather than wanting to run between the pieces of foam, which could reduce the effectiveness of the insulation (not that we’d probably ever notice considering how over-engineered this is)! Lastly, the dirt was put back in the ground, and you can barely tell all the fancy foam-work below the surface.
We did the same thing for the lines running from the house to the hot tub, except we couldn’t go quite as deep due to the existing septic lines. We decided to re-use the old foil-wrapped pipes for the lines running from the house to the garage because they were going to be underneath the heated entryway, and the ground will never be very cold right there so it really wasn’t necessary.
Next week will involve the rest of the work to get the area ready for pouring the slab!
