December was a rough month, with much less progress than we had hoped for. We were still productive when we could be, but we did have a few setbacks, and learned about a few things we should (and shouldn’t) do for our building. Because of that, this post has fewer pictures and a lot more text than most of the recent updates.
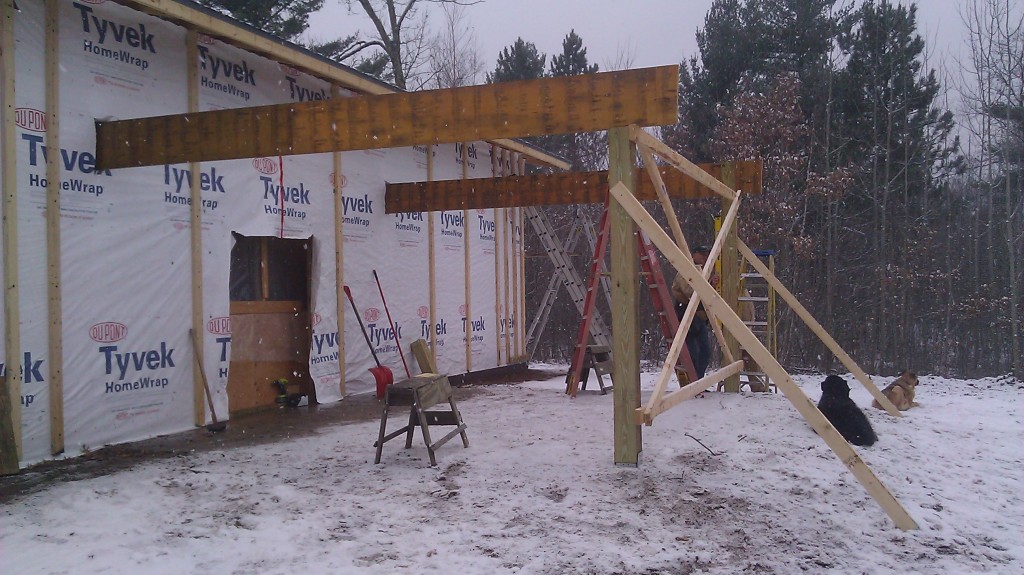
We didn’t let winter keep us from getting a little bit of work done on the outside of the house. We had 4 large beams (14 inches tall by 14 feet long) and two posts for the covered patio laying inside our future living room, and we wanted to get them out of the way. We had a few decent days of weather in the beginning of the month, so we took the opportunity to install the anchors for the posts, lift the beams into place, and brace the support structure that will hold the trusses and screen walls for the patio. Our good weather was short lived, so we couldn’t finish building the patio, but we did at least get a nice place to safely store the trusses until we can get back to working on it (they are upside down, stacked on the beams against the house under the roof overhang).
The weather continued to get colder and snow kept falling, so we moved inside again. While we were out of the wind, the only problem with working inside was that there was not ceiling or attic installed, and all of our heat was going right up and out the attic. The pile of firewood was disappearing at an astonishing rate, so we needed to come up with a plan to stop the bleeding of our wood supply, and make it more comfortable to work inside. If you’ve been following the progress of the house, you’ll know that we put 4 inches of foam (two 2″ layers) on the outside of the exterior walls. Somehow the amount of foam was miscalculated by about 60 sheets, so we still had quite a bit of foam sitting unused in our carport. The plan was to return the foam, but we would have to deal with the cost and time of hauling it back to Rice Lake, and suffering a restocking fee of around 20%, greatly reducing what we’d get back for it.
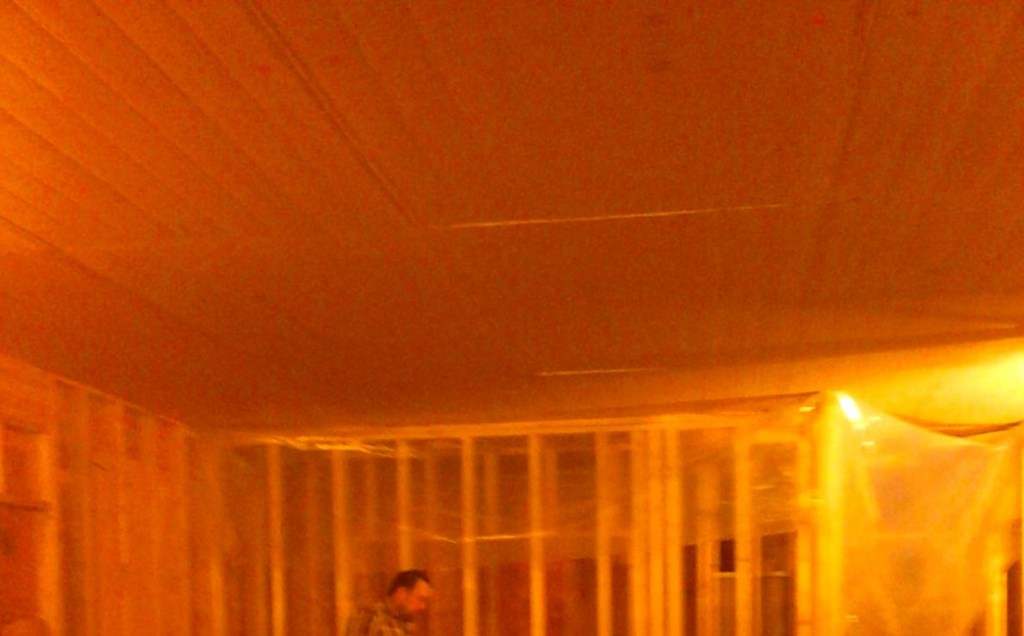
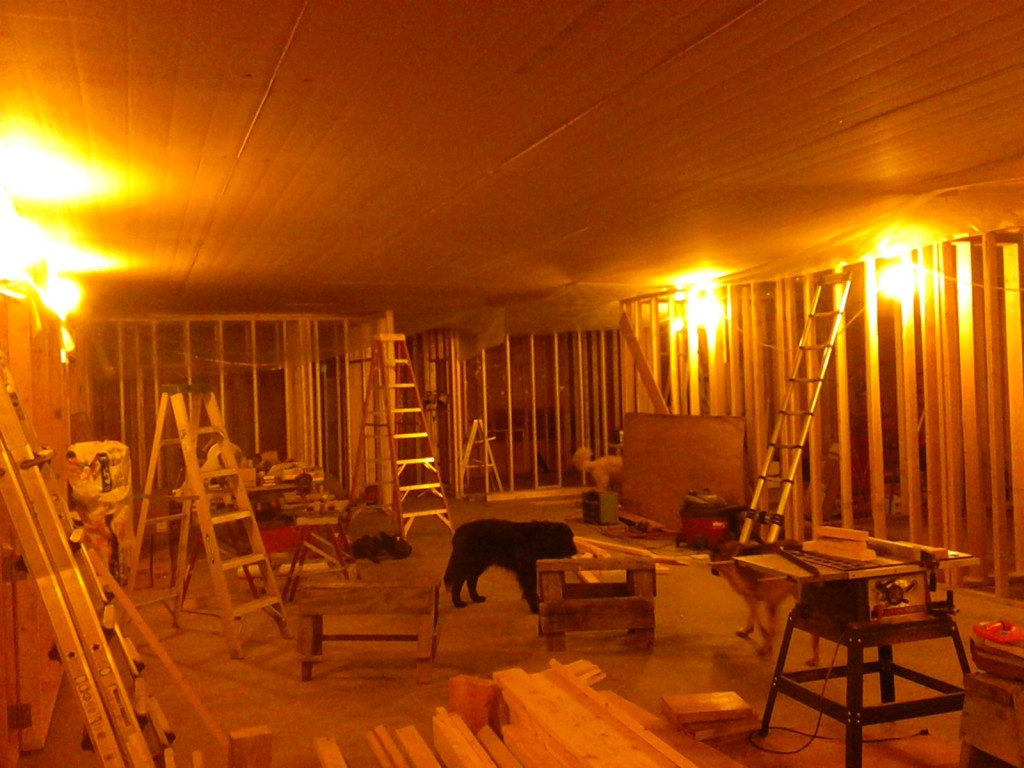
After some discussion, we decided to install the foam on the ceiling, nailing it to the underside of the trusses. Since we have 9 foot walls, the ceilings are already a foot higher than most houses, so losing a couple inches was no big deal. It went up surprisingly fast and easy, and our leftover pile was only 3 1/2 sheets short of having enough to finish the whole ceiling. Instantly the temp became very comfortable and the wood supply stopped vanishing so quickly. Putting the foam on the ceiling isn’t without a few challenges, though. First of all, we’re almost certain that the inspector will be less than impressed with the extra work involved with having to inspect that attic. Also, we had to cut all of the studs 2 inches shorter to accommodate the foam. Lastly, wiring, duct work, and installing the sheetrock will be harder, but certainly not hard enough to justify not having the foam there.
One final advantage of the foam is that it will save us nearly $1,000 in what we had budgeted for insulation in the attic. We still plan on blowing in around 20 inches of fiberglass for a total R-value of around R60, but our original plan was to use an inch or two of spray foam in the attic on top of the sheetrock. The foam boards cost less per square foot for a similar R-value, and we get the benefit of a full thermal break from the trusses, plus we are able to work inside all winter with at least some insulation keeping our heat in.
That’s when productivity hit the first speed bump. The death of a close friend meant that our focus was taken away from the house, and put on spending time with the family. The loss hit Sara especially hard since they spent so much time together, and it becomes very difficult to have the energy to continue building. After about a week, things started returning to normal, and we began working on the house again. With the foam installed, the rest of the interior walls could be built. They went up quickly and really helped the building take some shape now that it wasn’t a huge open area. Each room finally some definition and it became much easier to get a sense of how big each room was and made the space feel more like a house.
Just as suddenly as we began building again, everything suddenly came to a screeching halt. Sara’s dad had been helping us with a lot of the construction so far, and he had just shown up to help us put the top plates on the interior walls. He is a volunteer firefighter for Grantsburg and had already been on one fire call earlier that morning. His pager went off and the call came across as a house fire in Grantsburg. Moments later, his own address came across the pager, and he was out the door in a flash. We were shortly behind, and upon arriving, it was obvious that the fire had been burning for quite some time. The garage was gone along with the breezeway which attached the garage to the house, and one end of the house was in flames with the flames quickly burning through the entire attic, eventually destroying the whole house (from smoke and water damage, if not directly from the fire). To make a long story short, he now had much bigger things to worry about (like losing all of his stuff and finding a place to live) than helping us with our house.
The following picture is NOT of his house fire, but shows a house with major damage from a fire that started in an attached garage.
The fire brought to life an immediate realization that we really needed to put some effort into fire protection, as our garage will be attached to our house in a very similar fashion. We had just been discussing the code and figuring out the easiest way to meet the minimum without doing much extra work to the existing garage. This was a very valuable lesson that a little extra time and money invested in a firewall between the two structures could very well be the difference between minor damage and a total loss of the structure and all of our belonging. The other lesson was about early detection. Being in such a rural area, if we can be alerted on our phones as soon as smoke is detected, it could give us the opportunity to call the fire department long before anyone might notice a potential fire. In the case above, it easily would have been the difference between losing some or all of the stuff in the garage, versus also losing the house, all the belonging, and instantly becoming homeless. Investing in smoke detectors capable of this function is now a top priority!
In addition to all the tragedy so far this month Mother Nature also decided to fight us. The temperature took a major turn downward, and spent the rest of the month well below the temps we had been used to. Many nights were -25 with windchills as low as -50, and the highs didn’t get above zero for a couple weeks. While we did have some insulation above us, it was just too cold to keep the building at a comfortable working temperature without risking running out of wood for the winter, so we turned down the thermostat and decided to call it a year. With Christmas being in the middle of the week, it would have taken out a few days of work anyway. We made some good progress in 2013, especially the last couple months, but December was not on our side, so we decided not to fight it. Despite it being an unproductive month, it appears that we’re still easily on schedule to complete the house this spring and remain on our original schedule. This month did teach us a few good lessons about not skimping on safety, and planning for the worst case scenario.
Bring on 2014!


