A few days after we got our first measurable snow, the temp had warmed up enough that most of it had melted. We wasted no time moving on to the next projects, as we knew that our luck for good weather could run out at any moment.
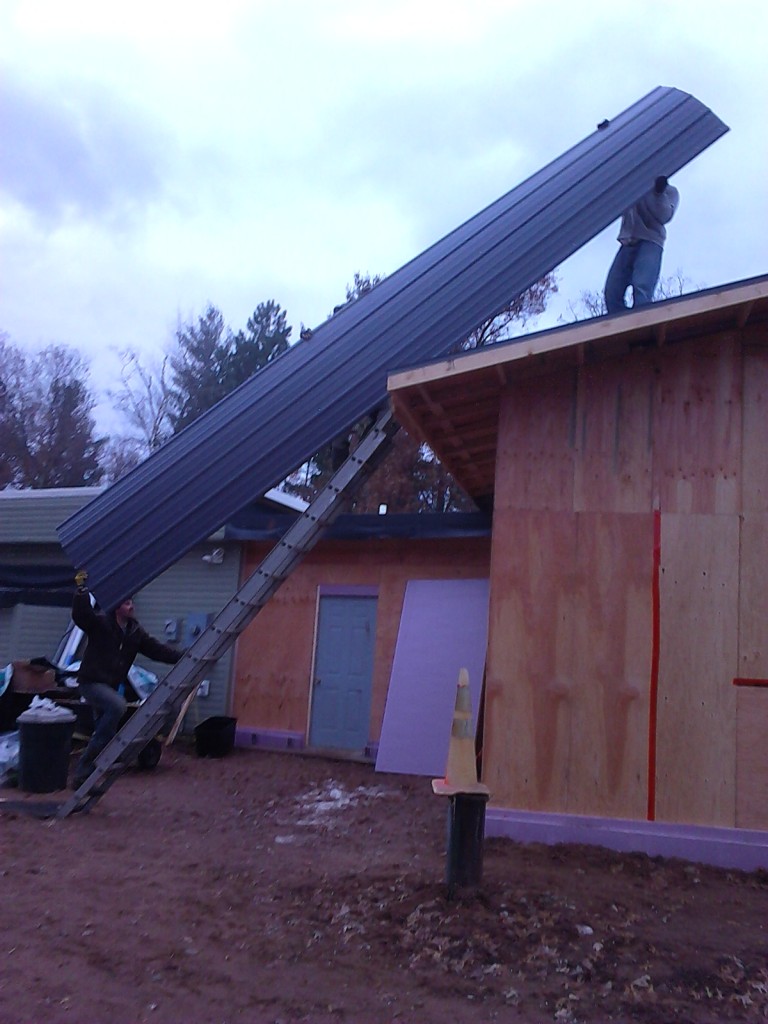
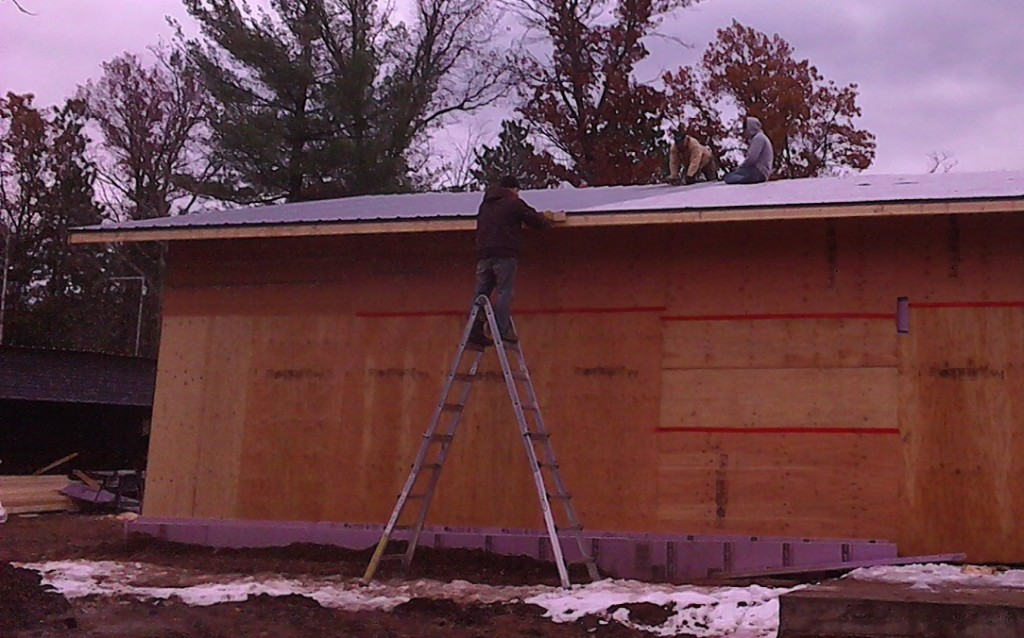
The highest priority was getting the metal roof installed. We could do most of the other projects in rain, snow, or cold, but working on the roof can be dangerous when things get slippery, and there isn’t anything to shelter us from the wind. So we went right ahead and started installing the sheets of metal.
One by one, each sheet was carried up, aligned, and tacked into place. Once everything was in place, the rest of the screws were installed, the ridge vent was attached, and the building was finally protected from any weather from above!
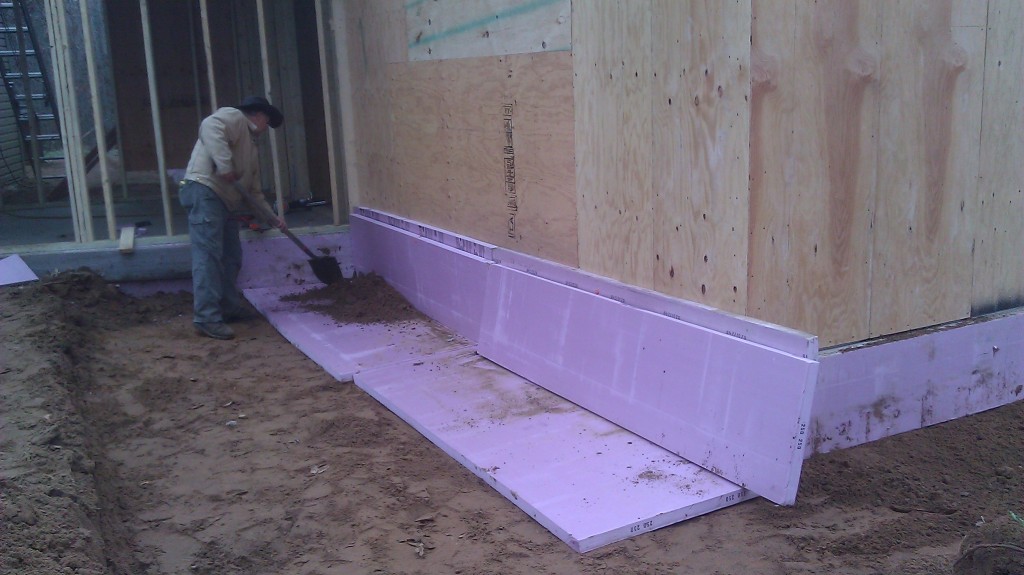
Technically this happened before the roof, but before the ground froze, we made sure to get our perimeter insulation installed, both horizontally away from the building, and vertically along the footing of the slab. This will help keep the outside edge of the house warm and keep our heated slab from just dumping our heat into the ground.
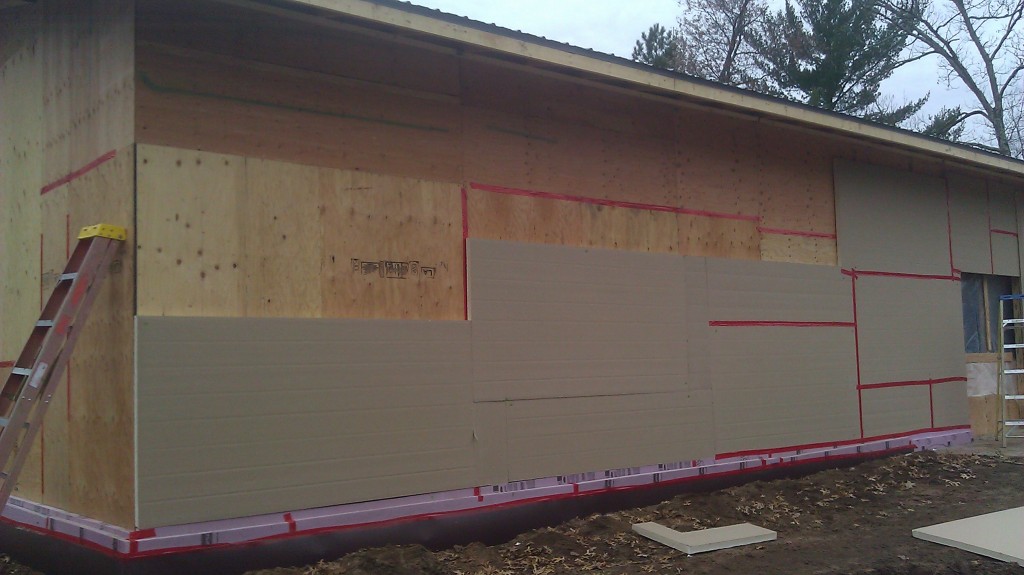
Up next was one of the most special parts of the whole house. The external foam insulation on the outside of the building. If you remember from our planning stages, we were installing two 2″ layers of foam with staggered seams to help keep us warm in the winter in cool in the summer. As you can see below, we have started tacking the first layer of foam on the wall using 3″ plastic cap nails and taping the seams.
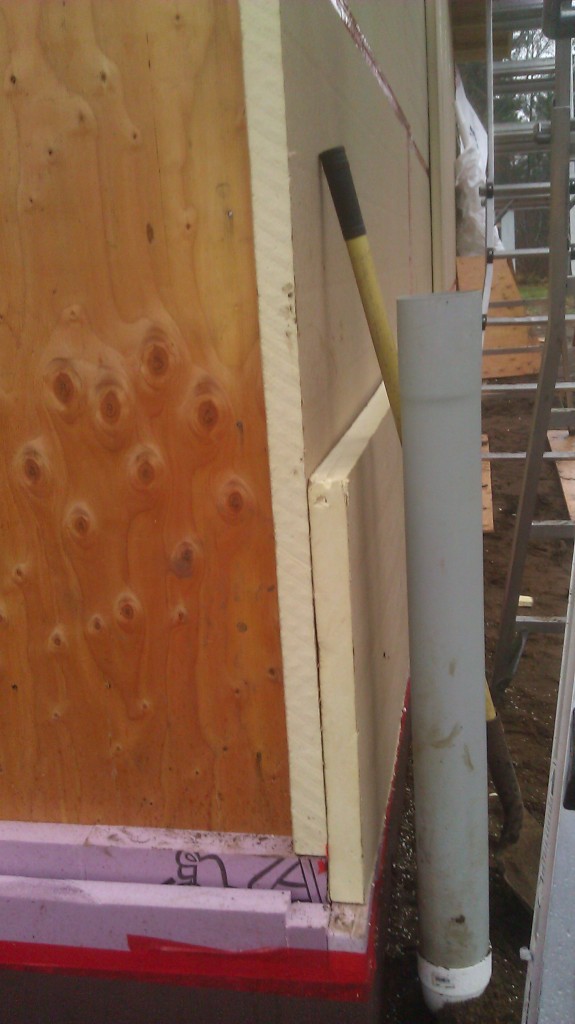
In the following picture, you can see one of our corners which shows the second layer starting to go on. We took great care to ensure that as few seams overlapped as possible to ensure the most airtight and well insulated design. The tricky part was to keep the second layer in place until the furring strips could be installed. We found the best method seemed to be using long nails pushed through both layers of foam at an angle, and simply pinning the two layers of foam together.
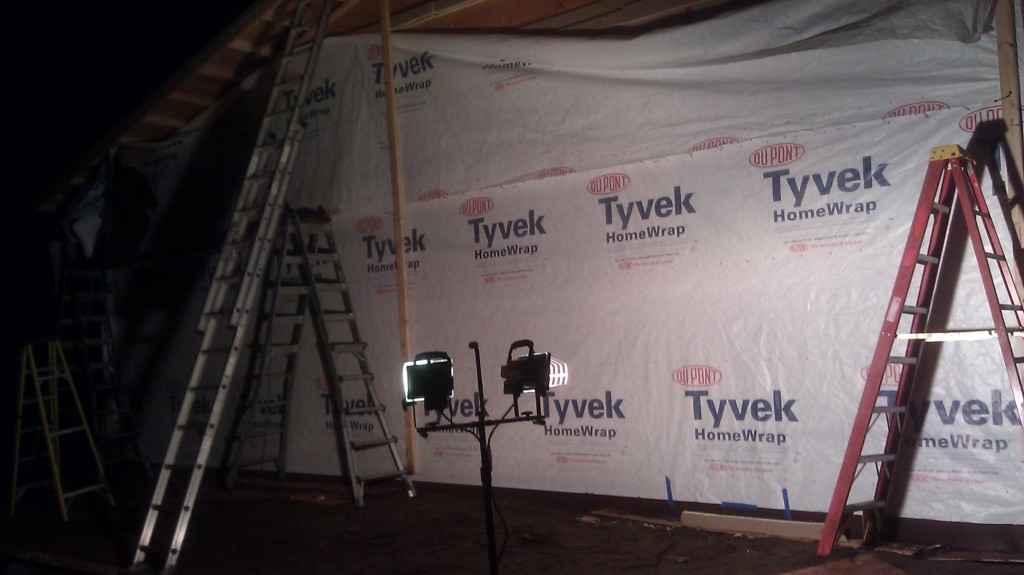
Once all the foam was installed, the next step was to install the Tyvek, to help keep the foam dry, but also allow the structure to breath in order for any moisture to escape. Since we had 4″ of foam behind the Yyvek, we couldn’t simply staple it up like normal, so we used the same plastic cap nails that we used to hold the first layer of foam up, and just tacked the Tyvek to the outer layer of foam until we could install a couple temporary furring strips to help keep it from blowing off the house. It just wouldn’t be a normal day on the job if we weren’t doing it well after dark.
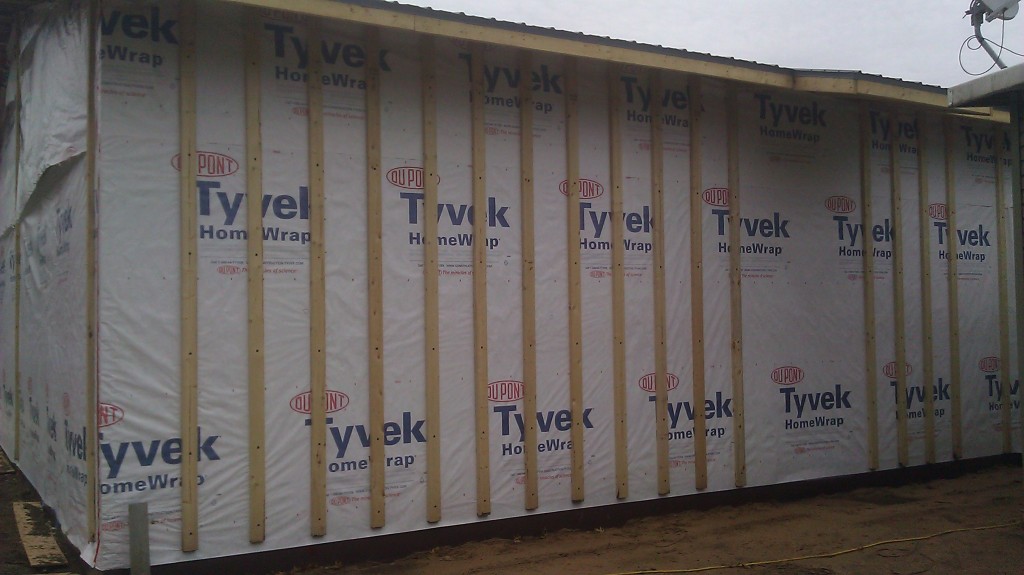
The final step was to cut all the furring strips to length and screw them onto the house. In order to do this, we installed a board across the top just above the foam, cut all of the studs to the correct length, pre-marked all of the screw locations at 24″ on center, and pre-started each of the screws. The screws we used were 7 1/2″ Headlock screws from Fastenmaster. Trying to hit a 1.5″ wide target (the wall stud) through 4″ of foam and a 1.5″ furring strip wasn’t quite as bad as we thought it would be, but we did have someone on the inside watching for any missed shots so we could back the screw out and re-aim until we got a solid anchor.
Now that all the insulation was installed, all of the Tyvek in place, and the furring strips holding both securely into place, all of the critical outside work was done for the winter. If the weather warms back up, we may work on some of the other outdoor projects (windows, siding, etc) but for now, the focus will shift to inside the house.
